Character Animation 101: Adding Bones to Your Character
Welcome back to Learning 2D Character Animation 101! Our second lesson will focus on the key concepts and process for adding bones to your Character.

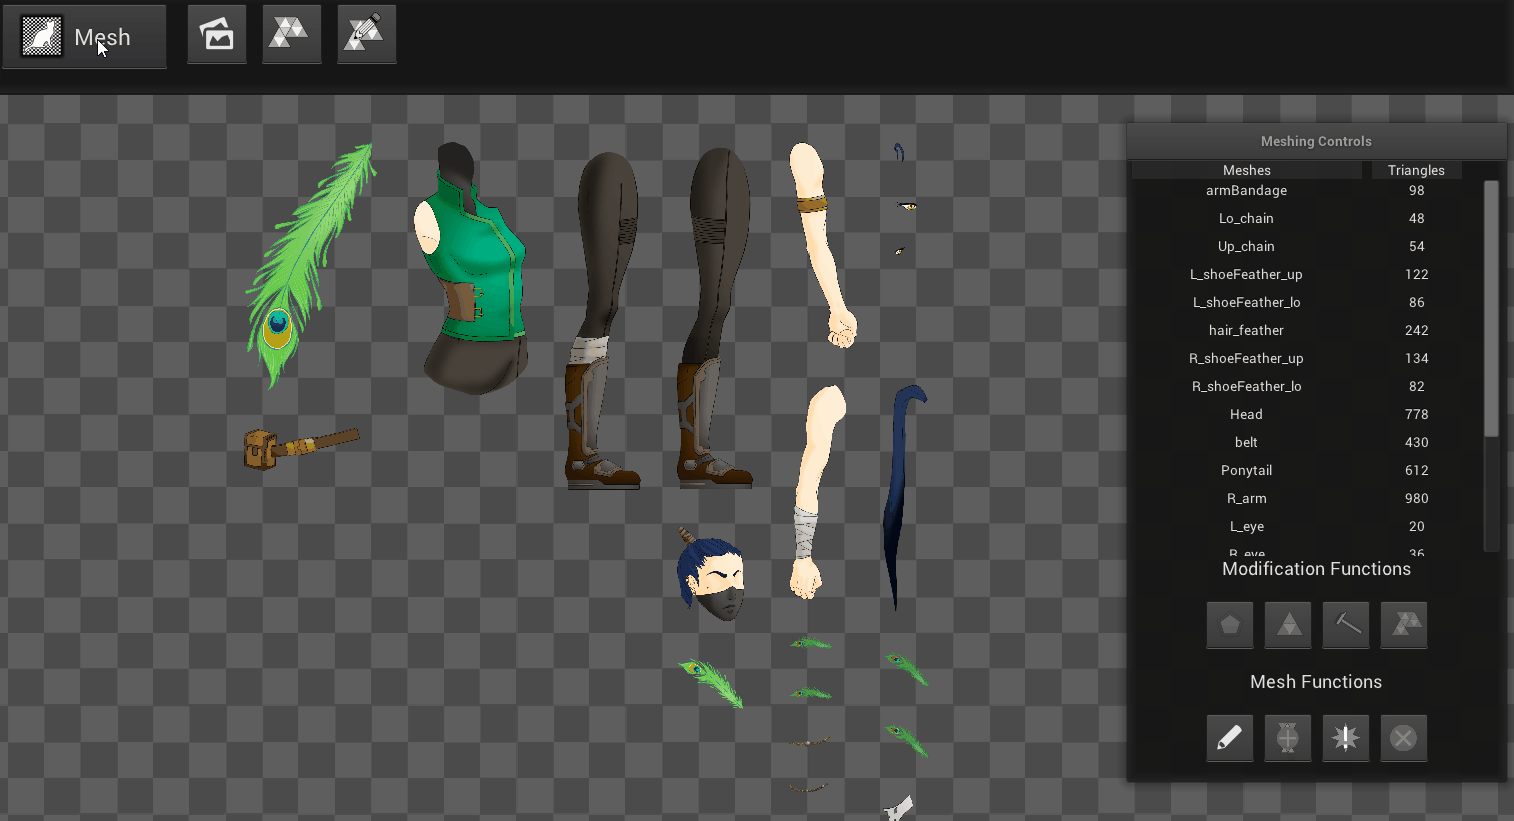
Welcome back to Learning 2D Character Animation 101! Our second lesson will focus on the key concepts and process for adding bones to your 2D Mesh (read our first lesson on Creating a 2D Mesh here). Now that you’ve finished the mesh we are going to start the rig. Rigging is the process of creating your character’s skeleton and adjusting how strong each bone’s influence is on the mesh.
What Are Bones?
When you pull on a person's hand, you will see a cascading motion forward from the elbow to the shoulder, following the structure of their bones and joints. In the world of skeletal animation, bones are part of your character ‘rig’: the structure underneath a character mesh that allows for fluid, hierarchical deformation of the character’s skin. Aptly named, a character’s skeleton is designed to function much like real-world endoskeletons: moving and rotating connected limbs. Bones are the most basic unit of a character’s skeleton, acting as handles used for creating animation. Without bones, natural looking limb rotation would not be possible without hand drawing each frame. Connected to your character’s bones there are joints: these are at the ends of each bone and allow for rotation.
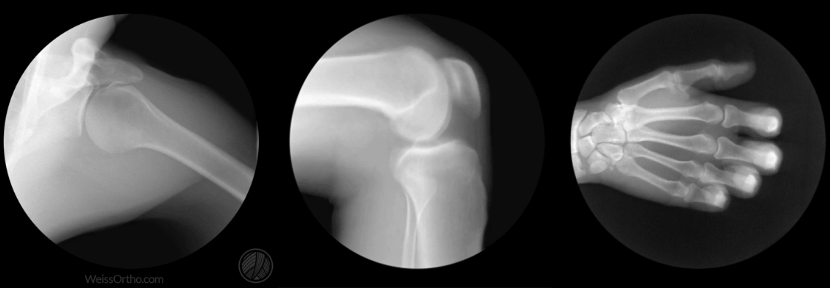
(X-ray of human bones rotating at the joints. Image from Weiss Orthopaedics)
A character’s limbs will rotate around these joints, so it is important to double check and avoid any offset placement. Joints that are misplaced may result in strange limb rotation. Once you have a more advanced concept of bones, you will know when you can add joints in unusual places for special effects. For now, prop open some anatomy references and get cracking.
What is Parenting?
Parenting is the process of creating a hierarchical system for your character rig that dictates how bones affect one another, specifically how bones on your character ‘inherit’ movement. Bones can either be a parent or child of one another. What this means is that if you rotate or move a bone higher up on the hierarchy (the parent) it will affect all the bones under it (the children). On the other hand, if you were to move or rotate a bone underneath another bone (the child) it will not affect the parent bone. The process of creating this parent/child relationship between bones is called “Parenting”. Below is an example of a skeletal hierarchy, with child bones nested underneath parent bones.
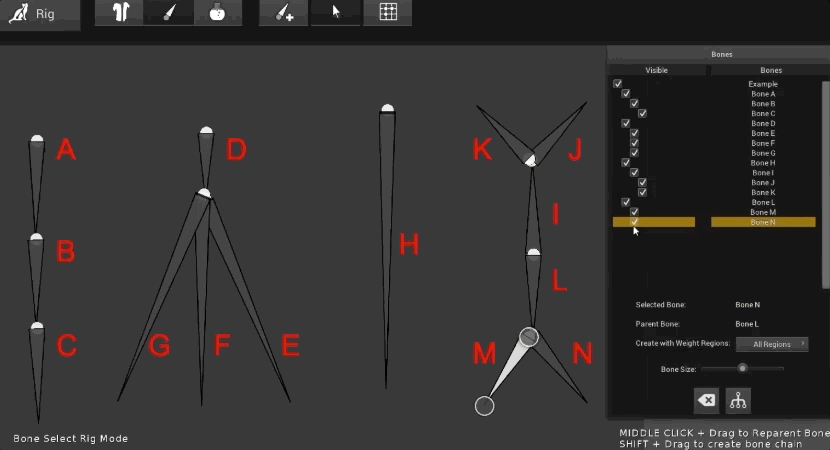
These examples show a variety of different parent/child relationships to illustrate parenting in action.
Both a Parent and Child
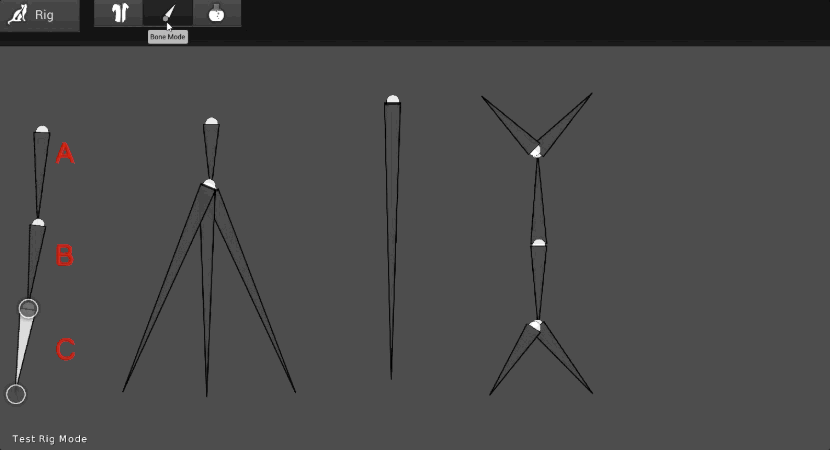
Bone A is a parent of Bone B. Bone B is the child of Bone A and the parent of Bone C. Bone C is the child of Bone B. You can see how they influence each other when I enter “Test Mode” and rotate each joint.
Parent of Multiple Children
Bone D is the parent of Bones E, F, and G. Each child can rotate independently without affecting the other children or the parent Bone D. However, when you do rotate the parent bone you will see the children Bones E, F, and G rotate along with it.
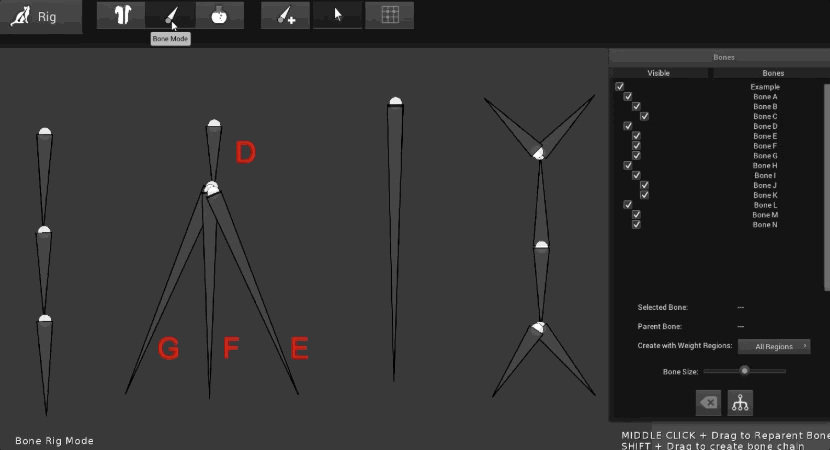
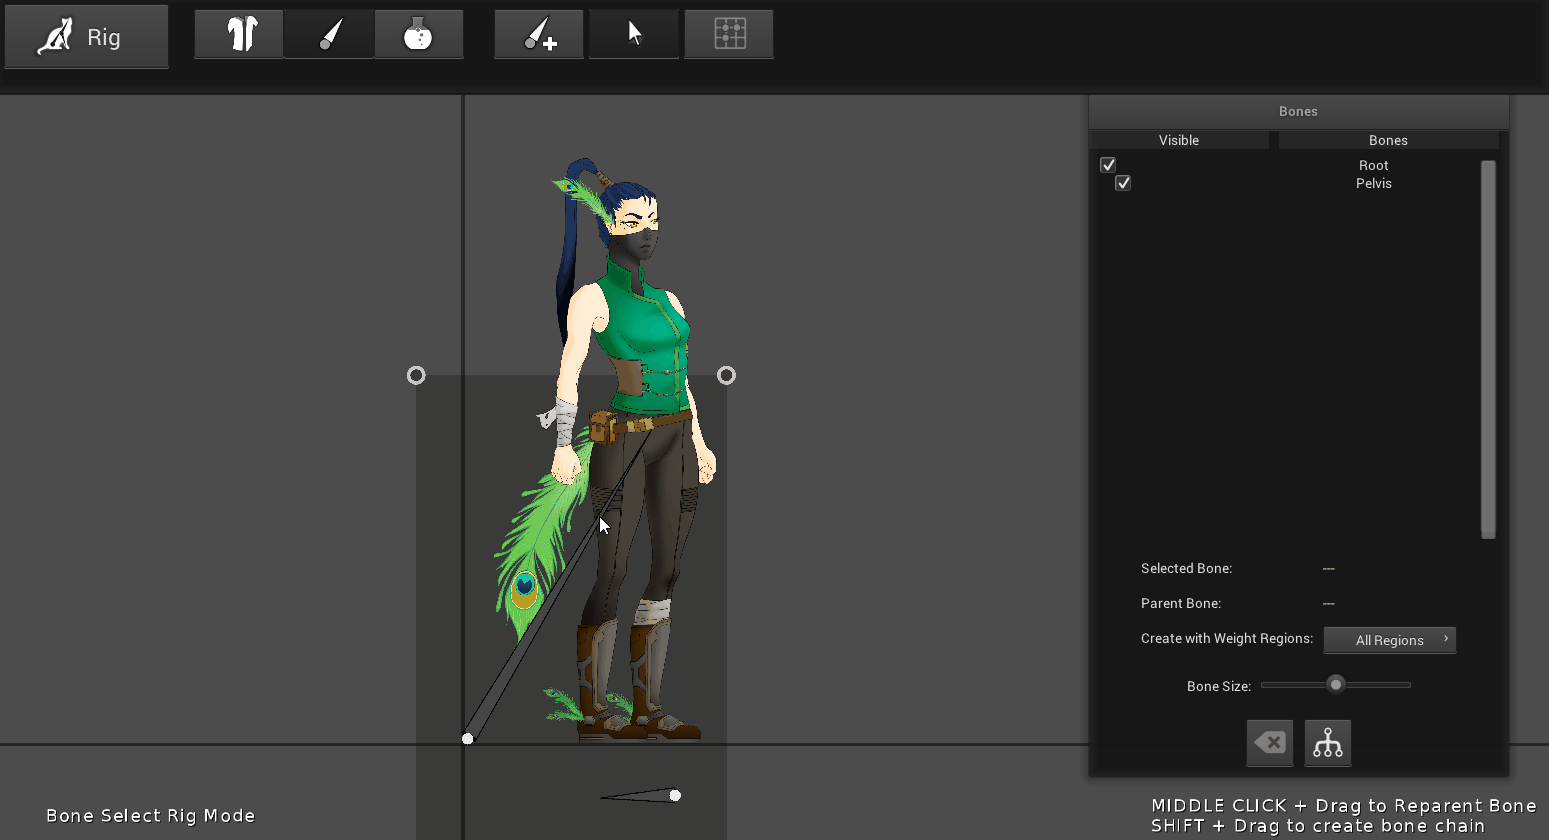
Root Bone
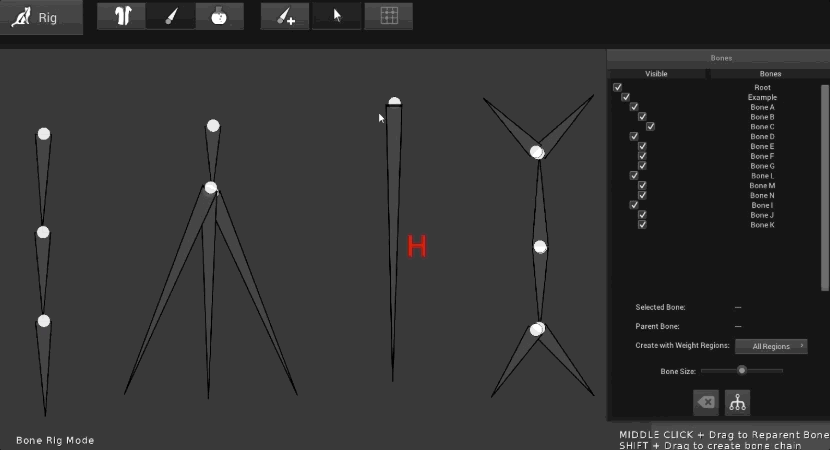
Every rig has a Root bone that serves as a parent to the rest of the rig. In this example, Bone H initially has no child so it does not influence any other joints when it rotates. I then re-parent the other bones to Bone H and then rename it as Root. When I go into Test mode again, you can see how the Root affects all the other bones. Typically the Root bone is placed in the center either on the ground or near your character’s pelvic area. It isn’t always used for animation, but rather as a reference point when you import into other software.
Double Parents
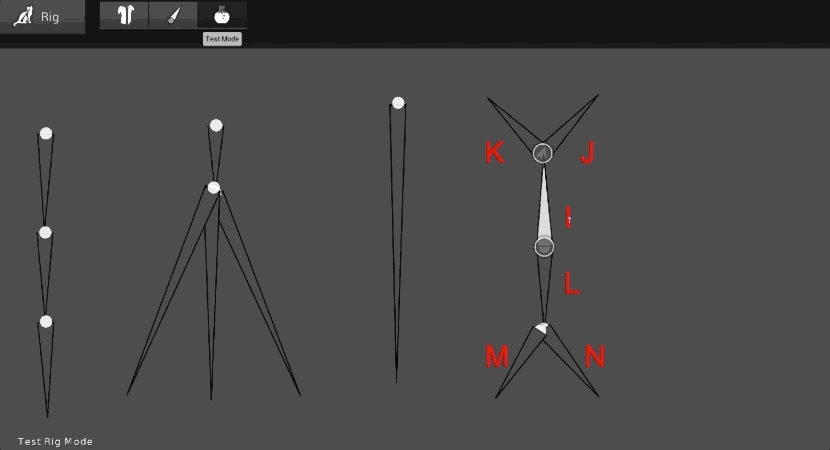
You can see how Bone I and L are both parents with children but they do not affect each other. It’s common to see a similar set up for a parent bone that goes up the spine and then a separate parent bone that goes down the legs. These are usually the bones that become the direct children of either the pelvis bone or Root bone.
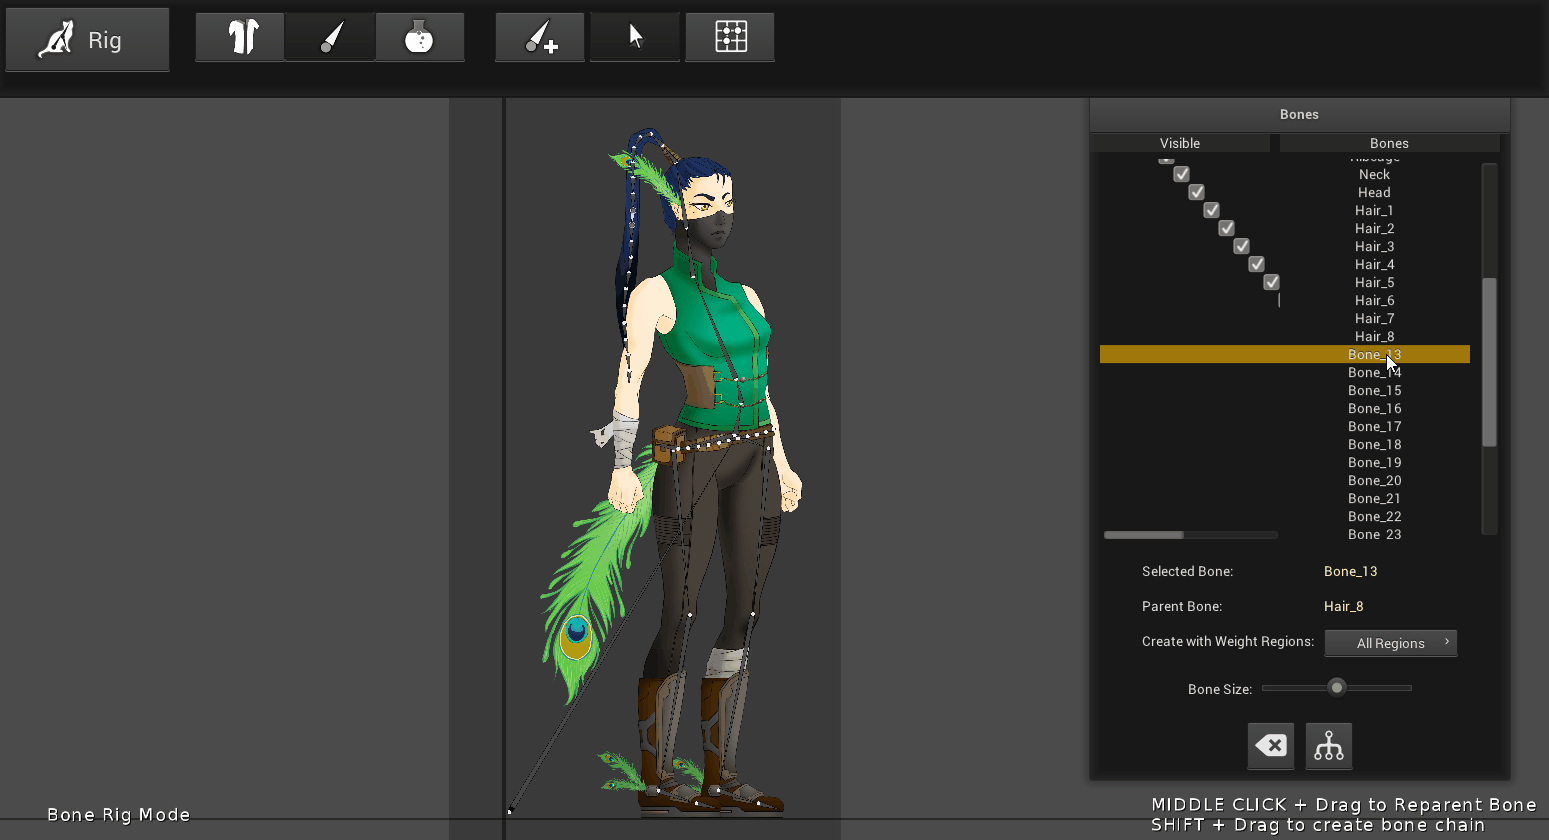
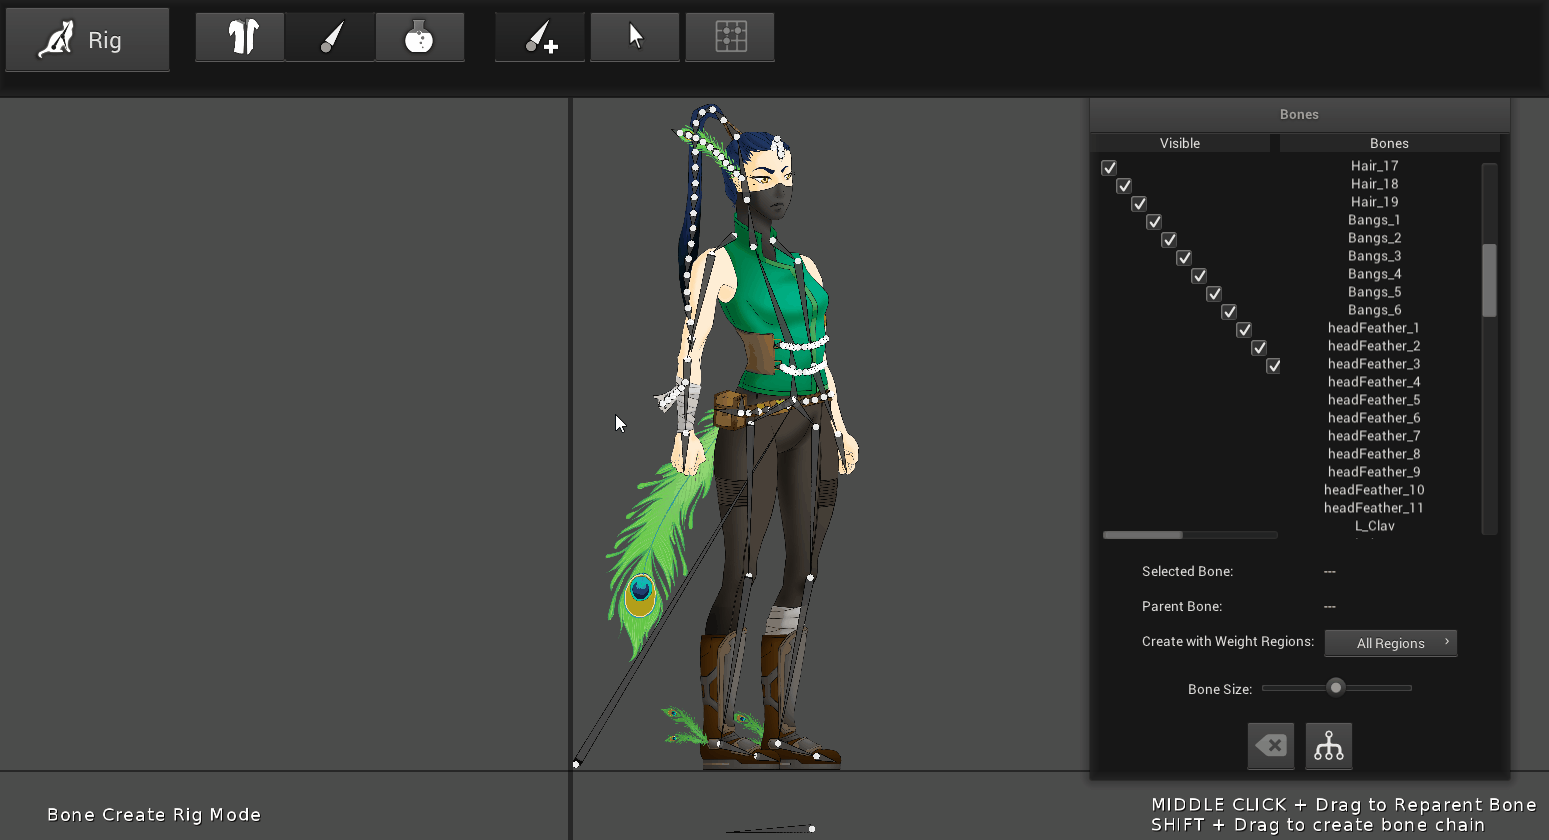
Creature has a Bones Window used for managing the bone parenting hierarchy. You can select and modify each bone by selecting them from this window or by clicking on the bones and joints directly from within Creature.
Step-By-Step guide on how to add bones to your 2D mesh using Creature.
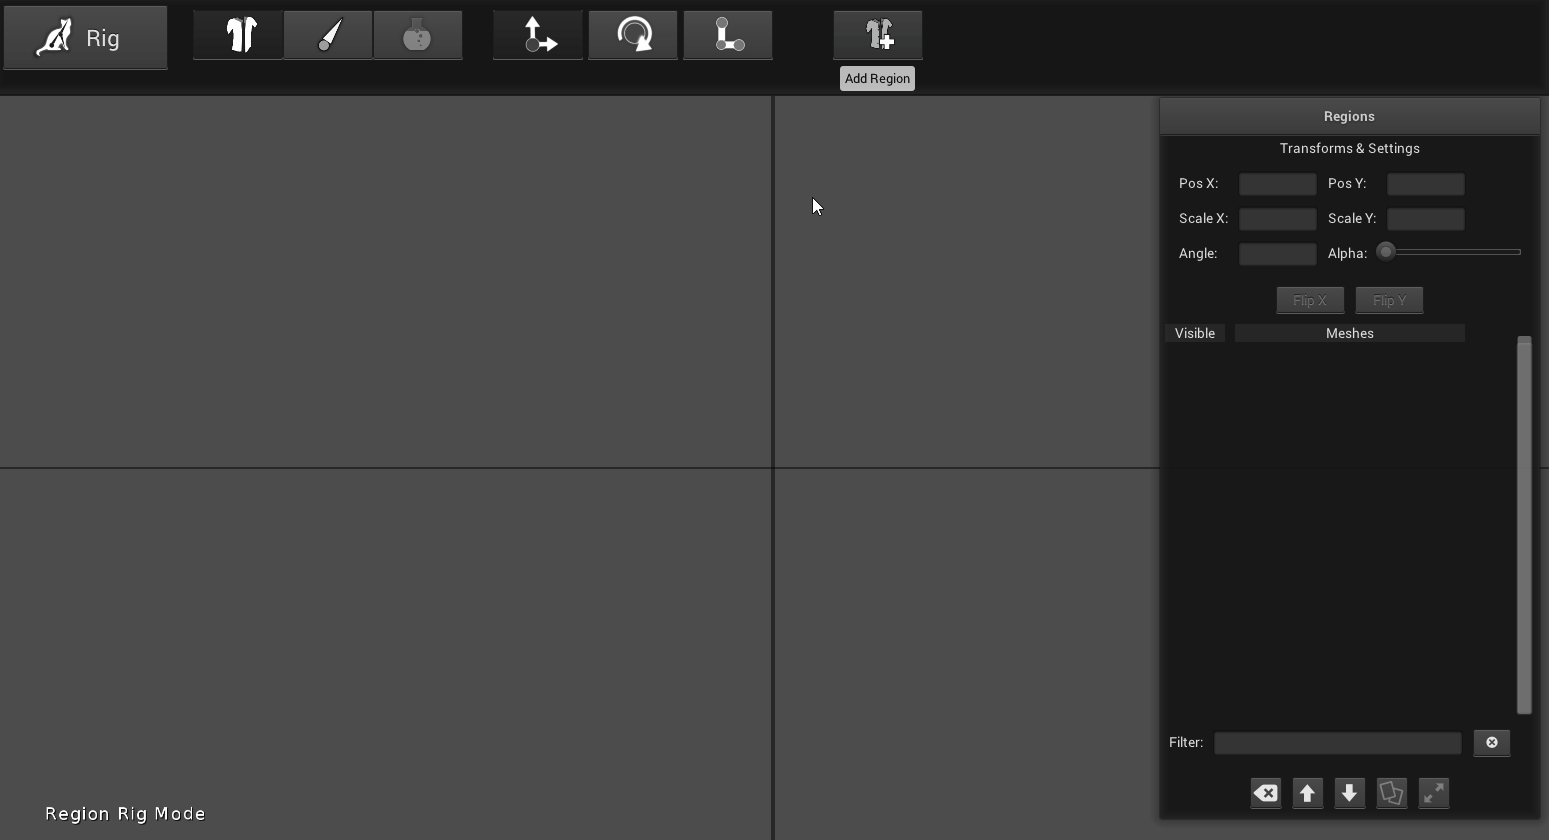
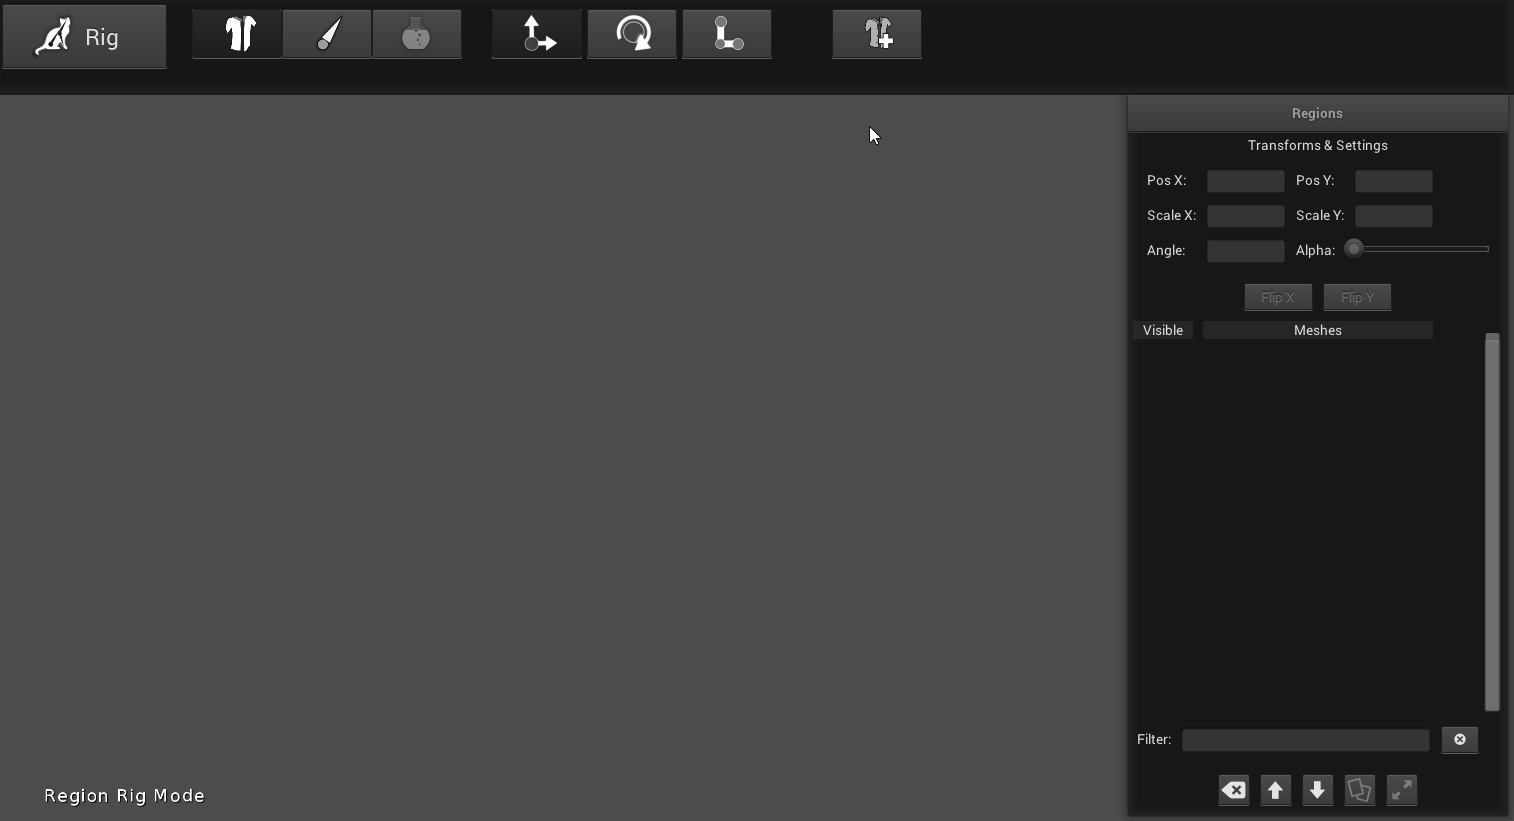
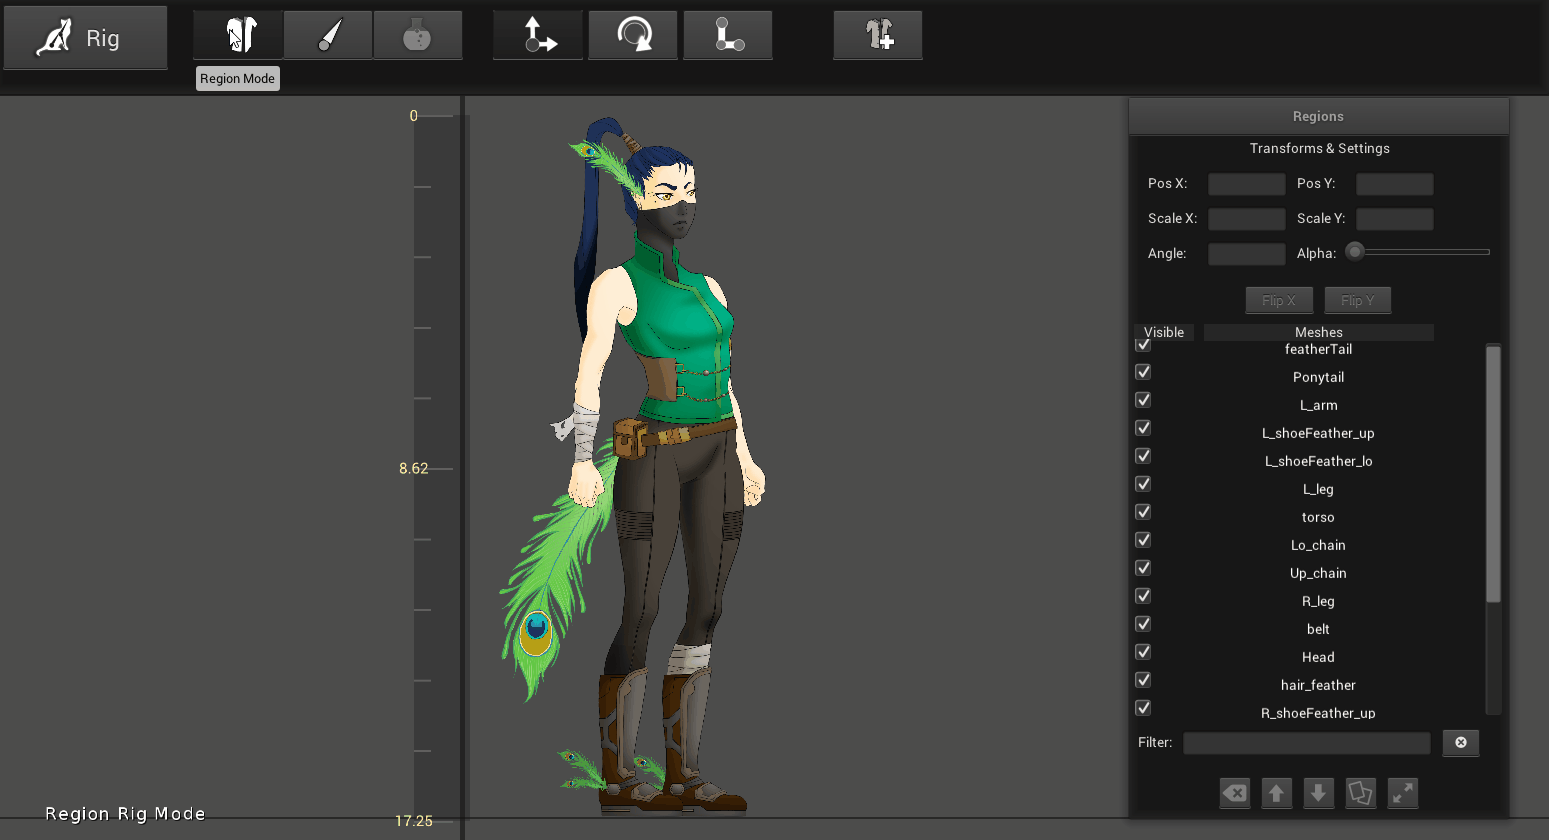
Step 1: Switch from Mesh to Rig Mode
Click on the large Mesh button on the upper left and select Rig.
Step 2: Add Your Character to Rig Mode
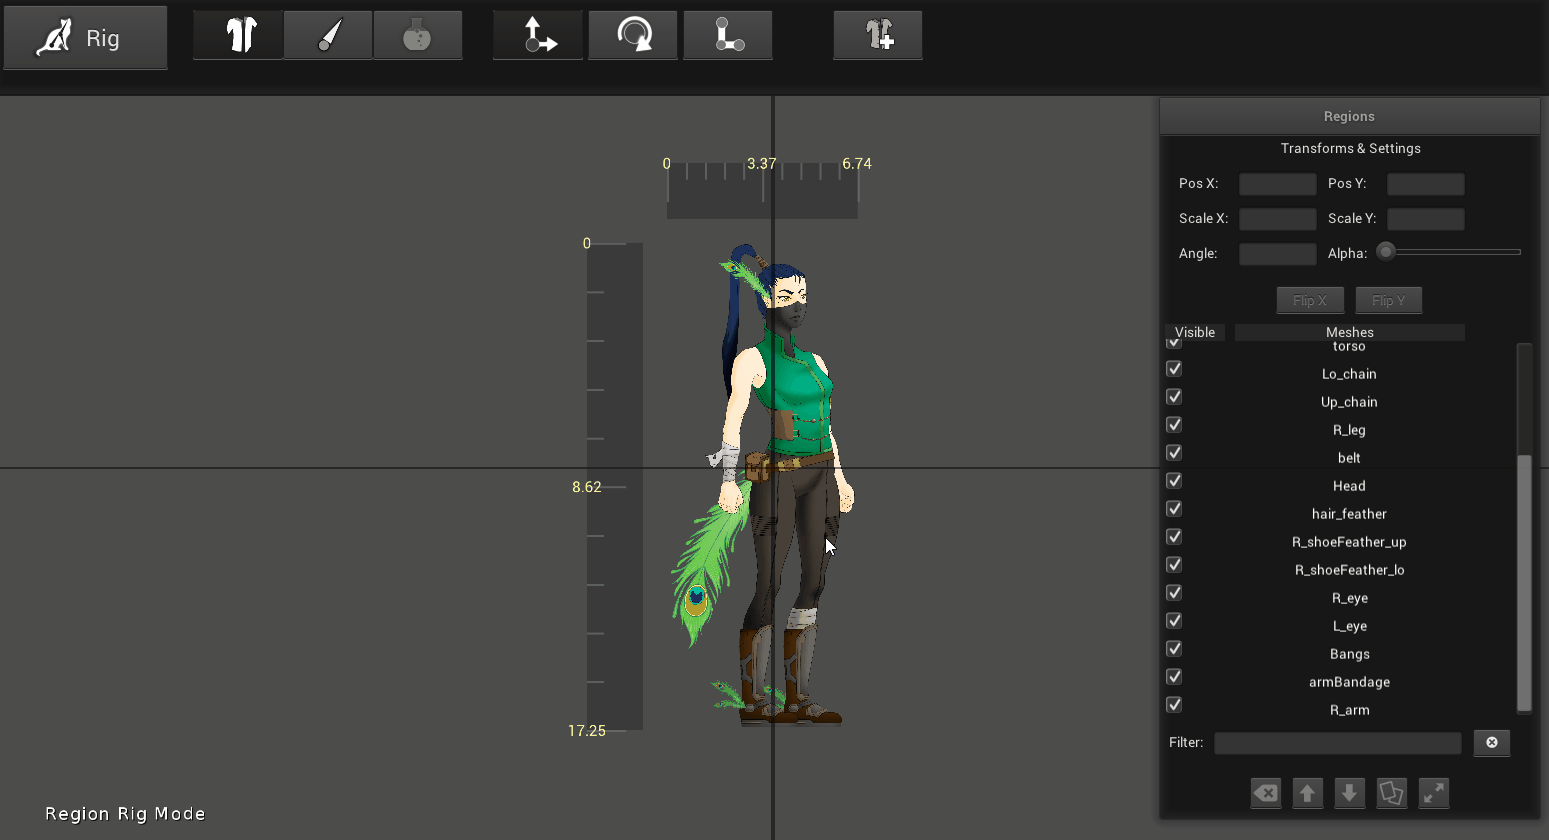
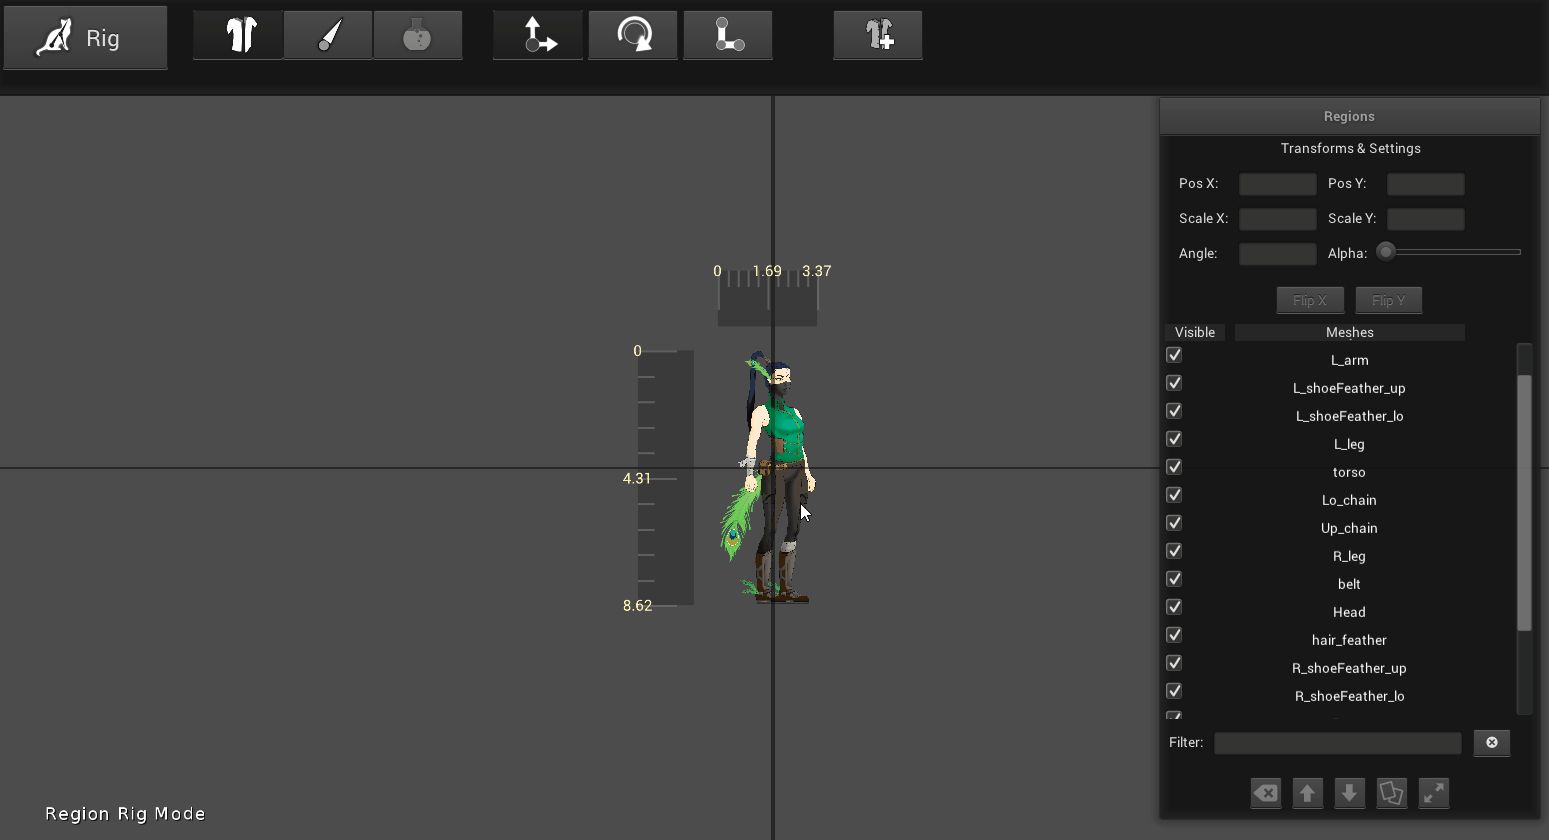
Now that we are in Rig mode our character has vanished! To add in your mesh regions click the “Add Region” button towards the upper right. What happens next depends on whether you imported a PSD or PNG image file at the start.
PSD Add Region: Select “Auto Place Regions from Project” and type in 1 for the “Layout Scale” to match your Photoshop reference. You can think of the Layout Scale as being similar to padding mentioned in lesson 1.
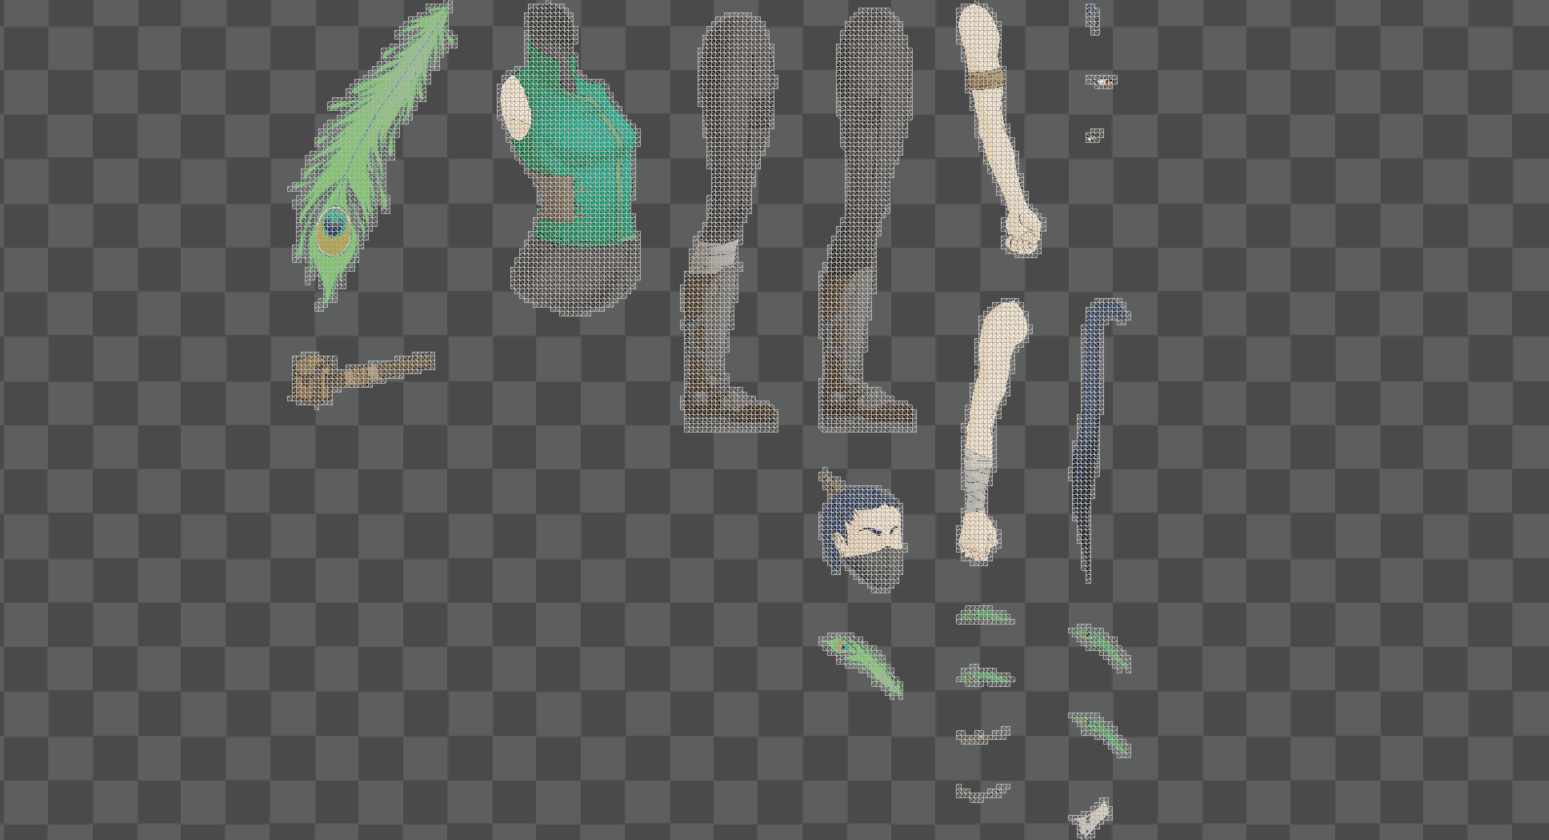
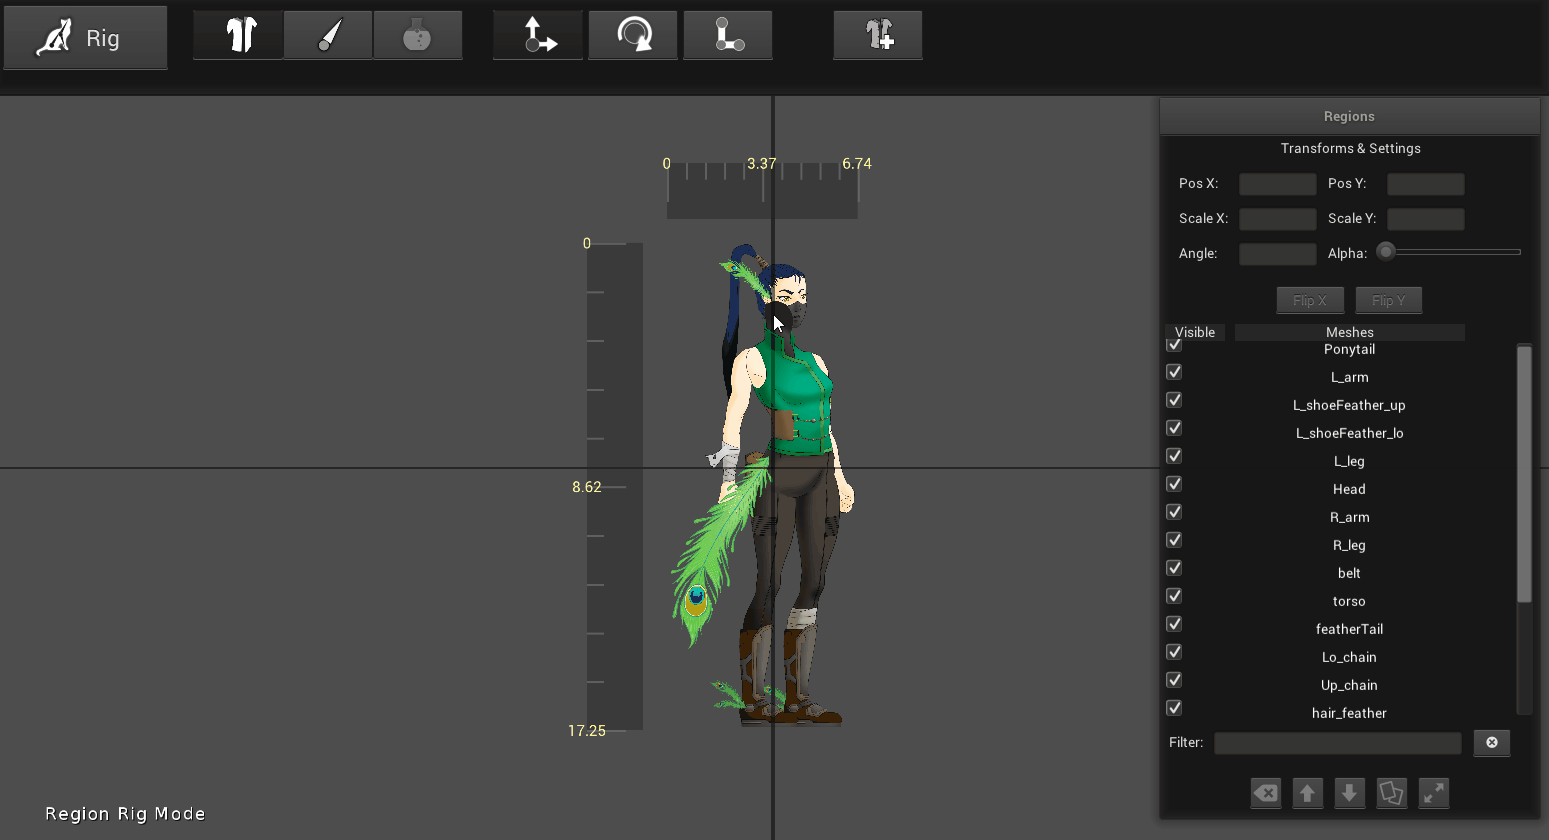
PNG Add Region: Select the mesh regions you want to use and click done to have them added. Don’t be startled by what you see though, all of your 2D meshes will appear on top of one another. Click on each region and drag them into position using the yellow arrow icons.
Step 3: Assemble Character for Rigging
The Regions Window gives you a list of all the added mesh regions along with tools to modify them. This list determines how the pieces are layered.
If you have mesh regions layered incorrectly you can rearrange them with the “Move Up” or “Move Down” arrows at the bottom of the Regions window. This will bring the selected piece further behind or in front of other mesh regions. You can also substitute pressing the arrow buttons with Shift+PageUp (Move Up) or Shift+PageDown (Move Down).
For my character Pluma I used the “Duplicate Region” tool to make copies of her tail feathers. You can also click on “Delete Region” to get rid of any unwanted regions.
For those times where you consider making a 3-legged ninja...or not.
The “Global Scale” button allows you to increase or decrease the size of your character as a whole. This is particularly useful when your character is added in and appears too small. To double the size you would type 2, type 0.5 to half the size of your character. In addition to Global Scale, clicking on either of the 2 rulers ( Horizontal or Vertical ) allows you to scale proportionally and precisely the dimensions of your character.
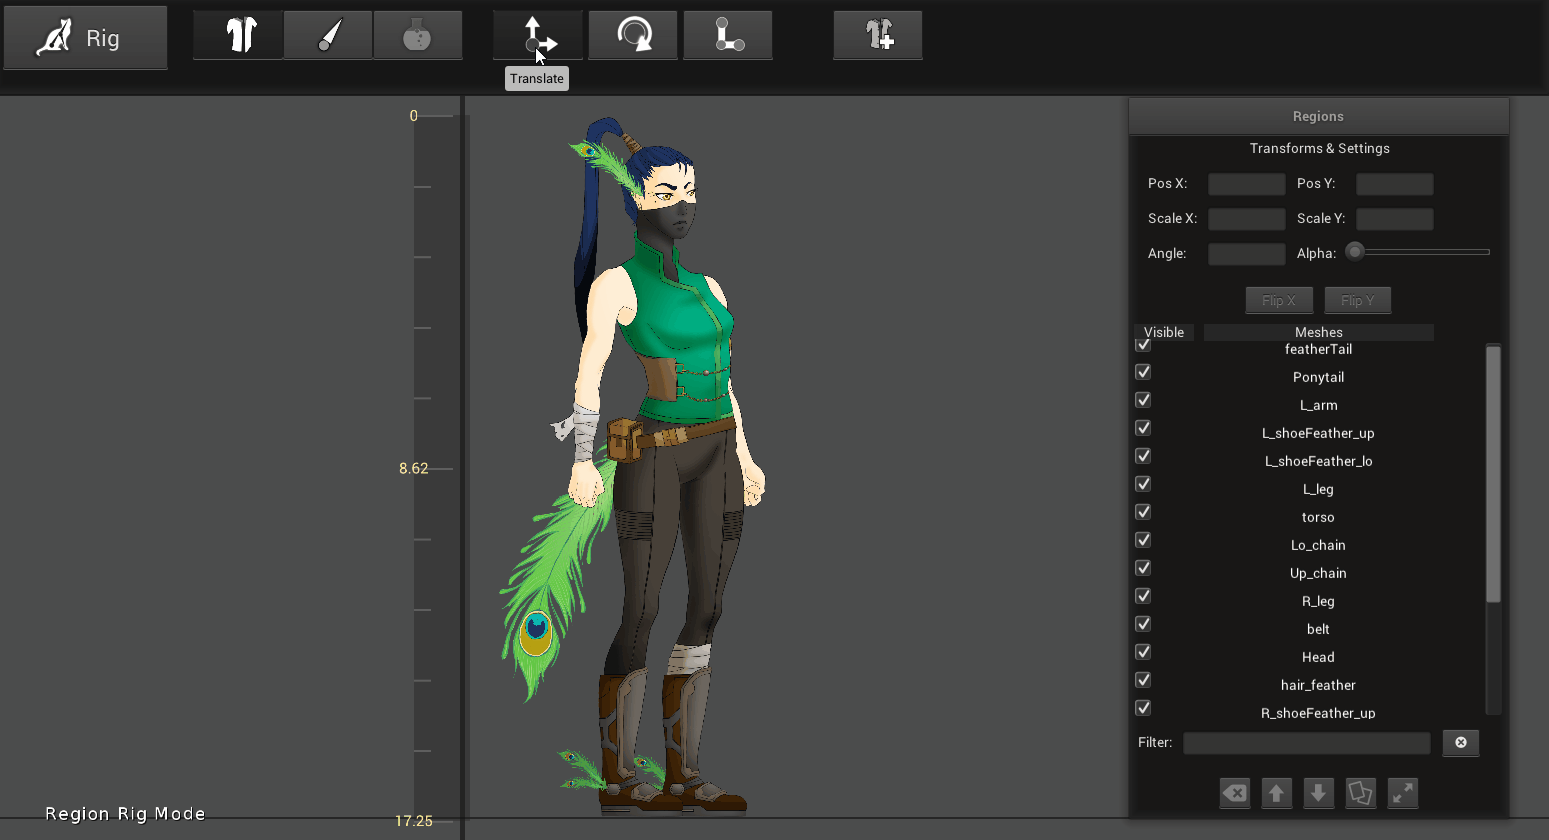
If you want to make adjustments to individual mesh regions you can use the “Translate”, “Rotate”, and “Scale” buttons to the left of the Add Region button.
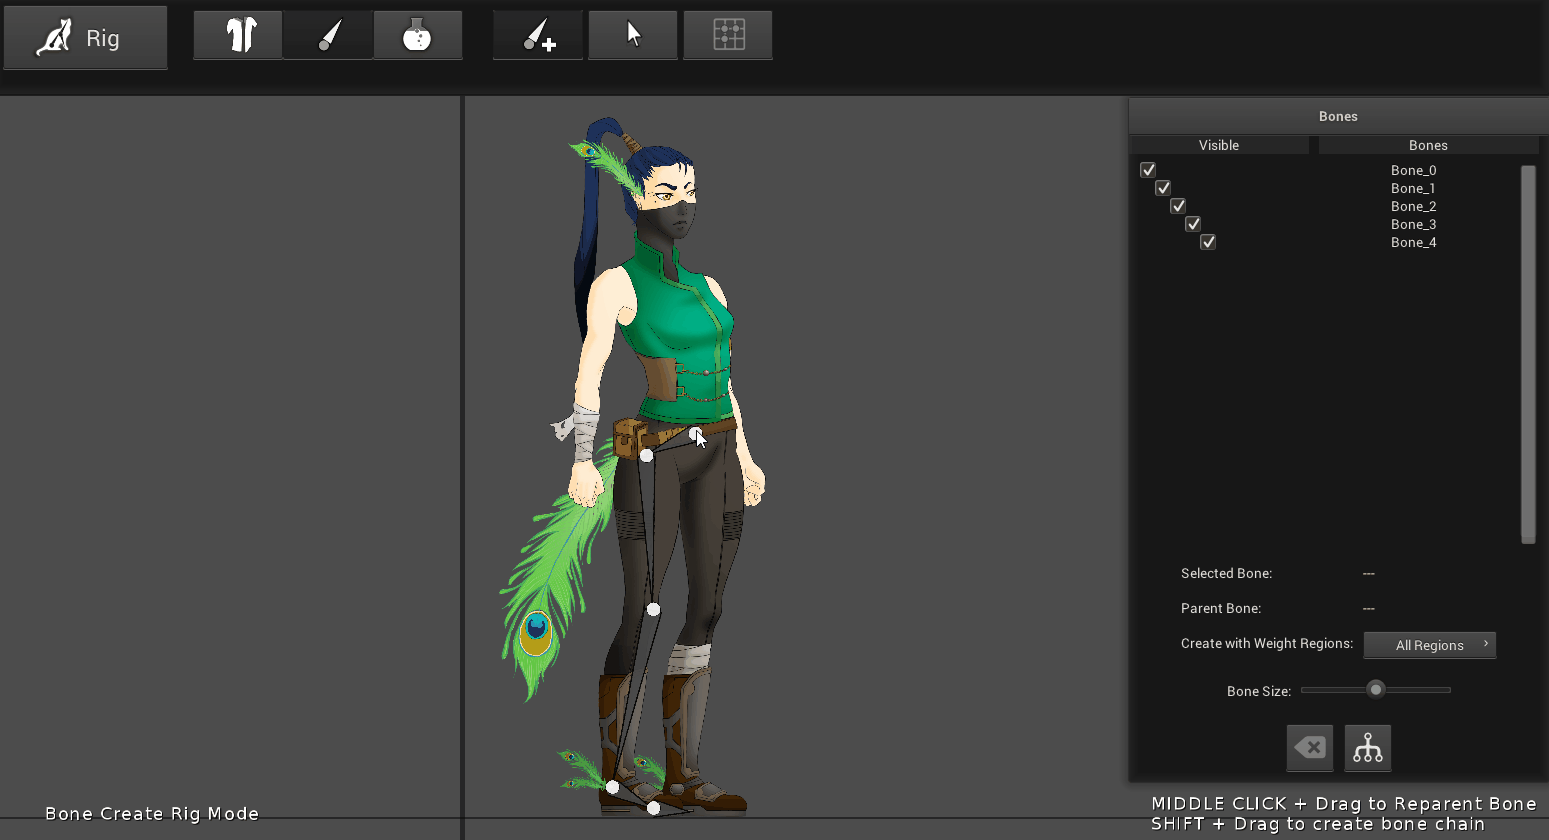
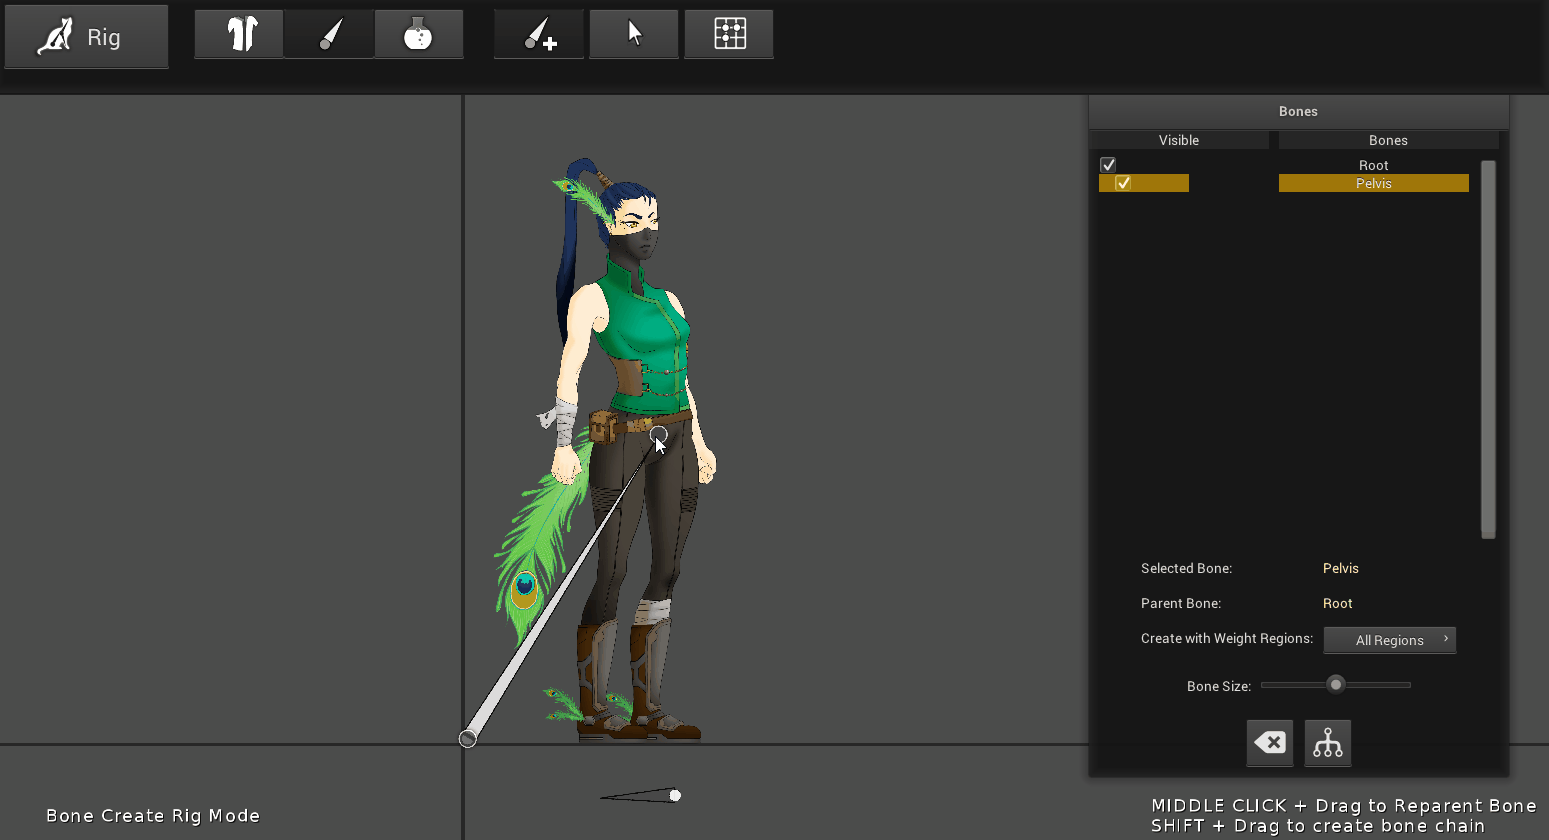
Step 4: Adding Bones
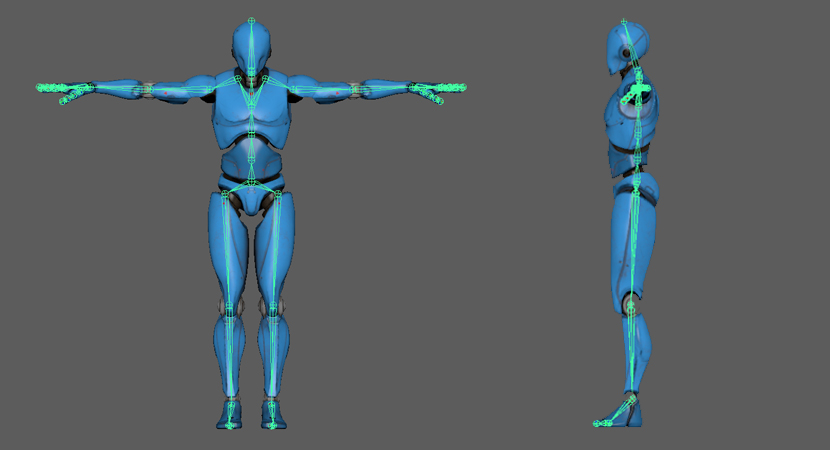
Now that we are done adding, placing, and arranging our mesh regions we can add bones to our character. Switch from “Region Mode” to “Bone Mode” using the buttons next to Rig. By default, the “Select” tool will be active. Click on the “Create” button to start making new bones using Click+Drag.
Method 1: Manually Create Bones
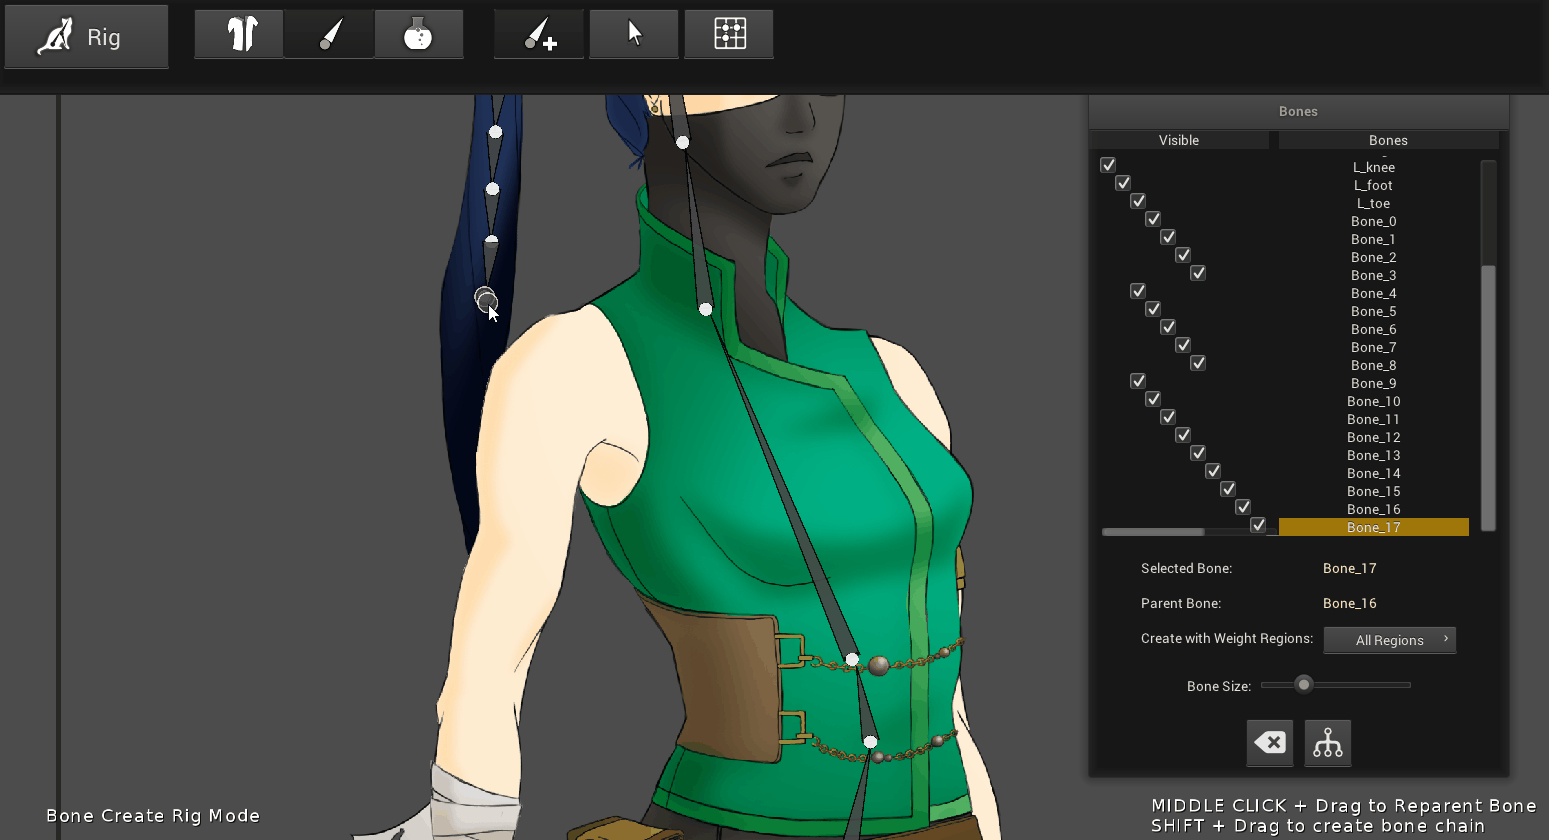
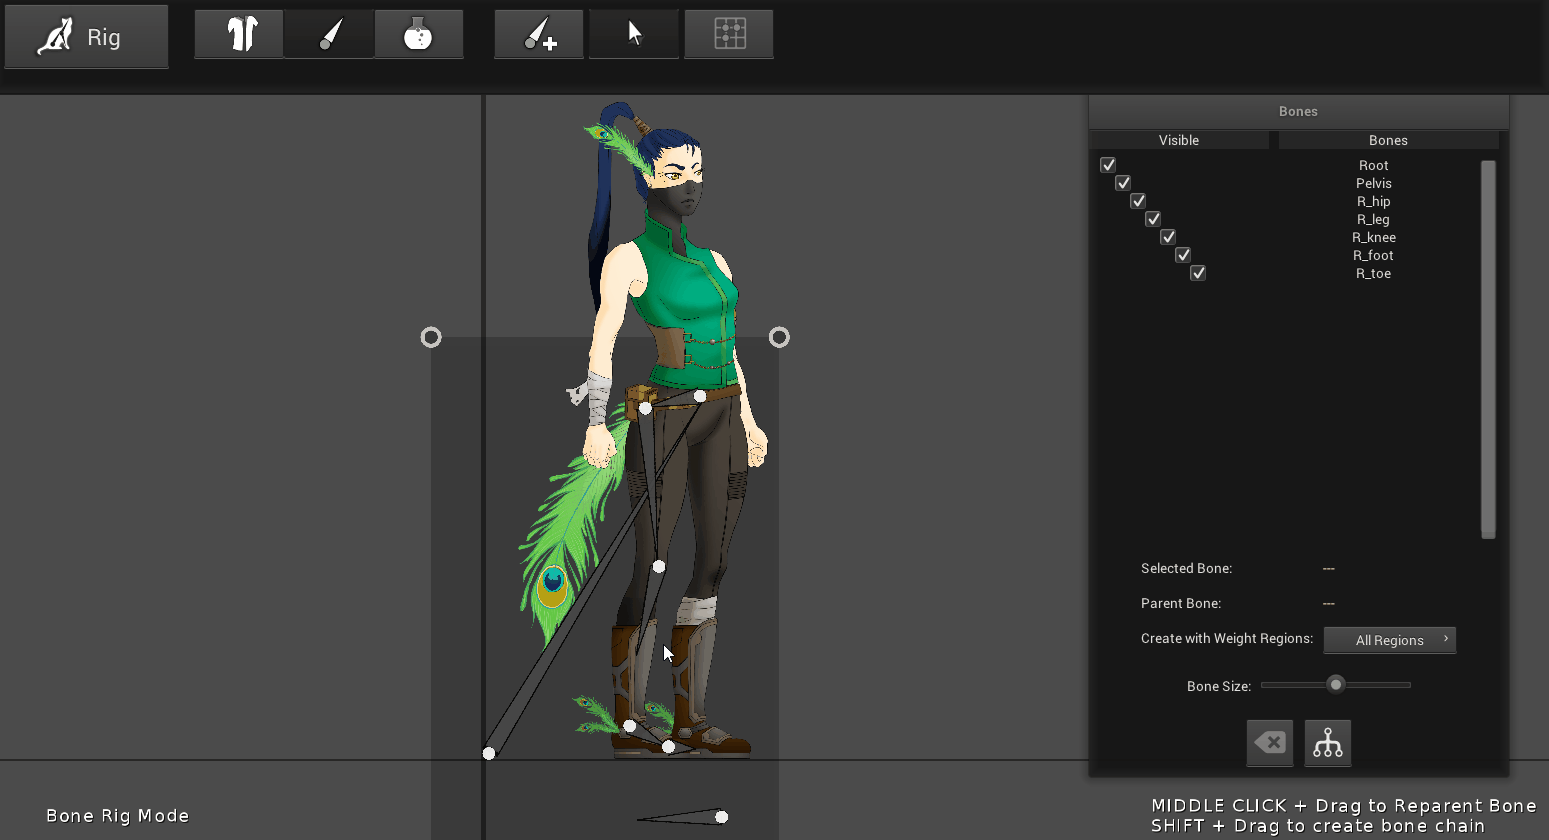
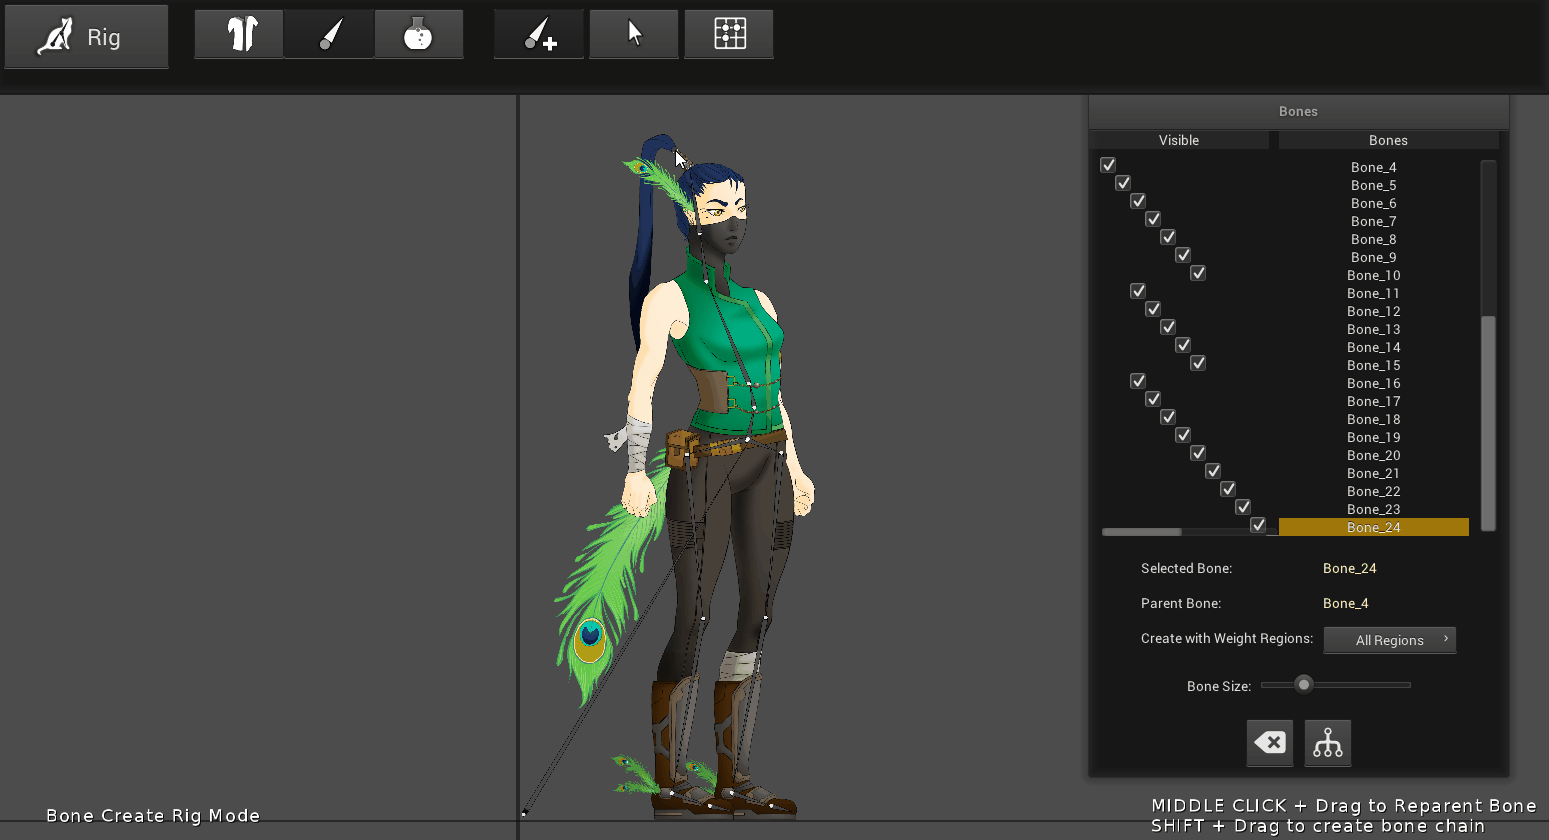
Creating bones manually gives you the most control in accurate joint placement, as well as the ability to create complex rigs that will include hair, muscle, chain, and cloth simulation. To make a new bone use your mouse to Click (Create Joint), Drag (Determine length and direction of bone), and Release (Create the second Joint). The next bone will be created on the next point that you click, even if it isn’t connected to the last joint created. Each bone that is drawn is automatically parented under the last bone drawn, unless you select a different bone from your “Bones Window”. Bone hierarchy can also be modified in the Bones Window later on. For any mistakes, you can always use the “Delete this bone” button at the bottom of the Bones Window. A fast way to switch between creating and selecting bones is with hotkeys, ALT+C (Create) and ALT+S (Select).
Each new bone is parented to the last created or selected bone. Using Pluma’s legs as an example, I would select the Pelvis bone and then create the bones for the right leg. Before I start placing the bones for the left leg I must first re-select the Pelvis bone.
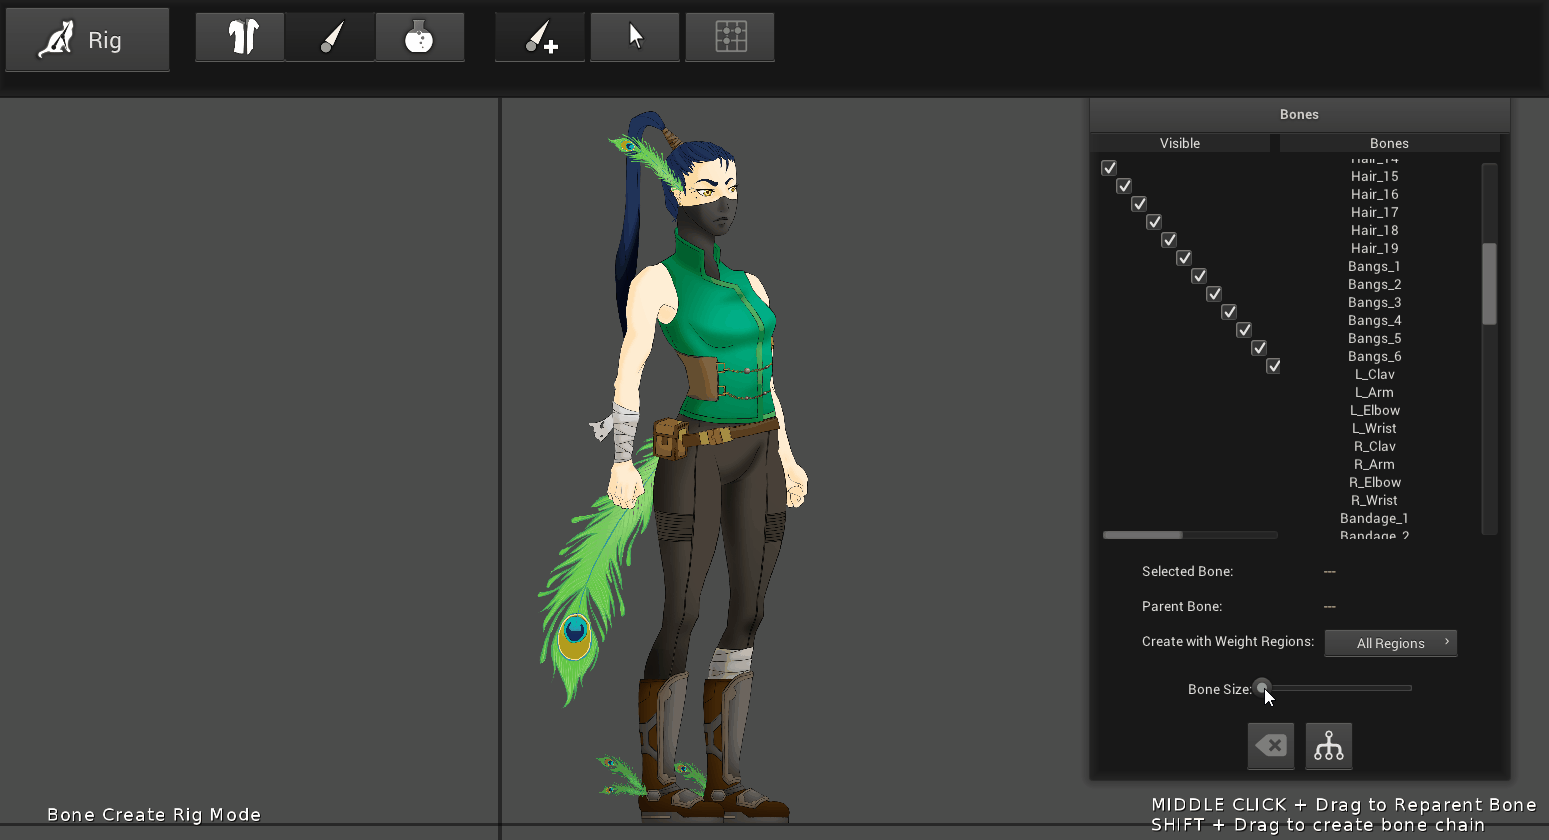
If the bones are too thin or wide you can go to the bottom of the Bone window and use the “Bone Size” slider. Bones that are wide will make accurate placement a challenge for joints that are positioned close together, this was true for Pluma’s hair. Thin bones can be difficult to see or select, especially when you are zoomed out.
Since you have mesh regions that overlap with one another it might be difficult to place joints accurately when the artwork is hidden. Simply switch back to Region Mode, click the mesh region that is blocking your view and uncheck the box next to its name in the Regions Window. Switch back to Bone Mode to continue rigging with your view unblocked. Don’t forget to select the proper parent bone first.
Method 2: Smart AI Rig
There are two options for automating part of the rigging process, “Smart AI Rig” and “Rig Templates”. These methods also take care of properly parenting the bones. When I created Pluma I found the easiest method to start with the Smart AI Rig. The “Run Rig Template” button can be found next to the Delete this Bone button. Inside the Smart AI Rig window click on the “Auto AI Rig” button. Creature will compute the placement for each joint using Deep Learning techniques to automate the process. Click+Drag to place each joint more precisely then click “Create Rig” to finalize it. Leave the Auto Weight box checked, we will go into more details in the next lesson.

Method 3: Rig Template
When opening the Rig Template window, click the Download button at the top to find a useful template online. You can also find the template library here, make sure to Right+Click and select Save As… to get the .crearig file required for this method. Once downloaded click Load… to import it on top of your character. At the bottom of the window you will see sections representing how the rig template is divided. You will be assigning the appropriate mesh regions to each section using the Regions List and the Assign Regions button at the top.
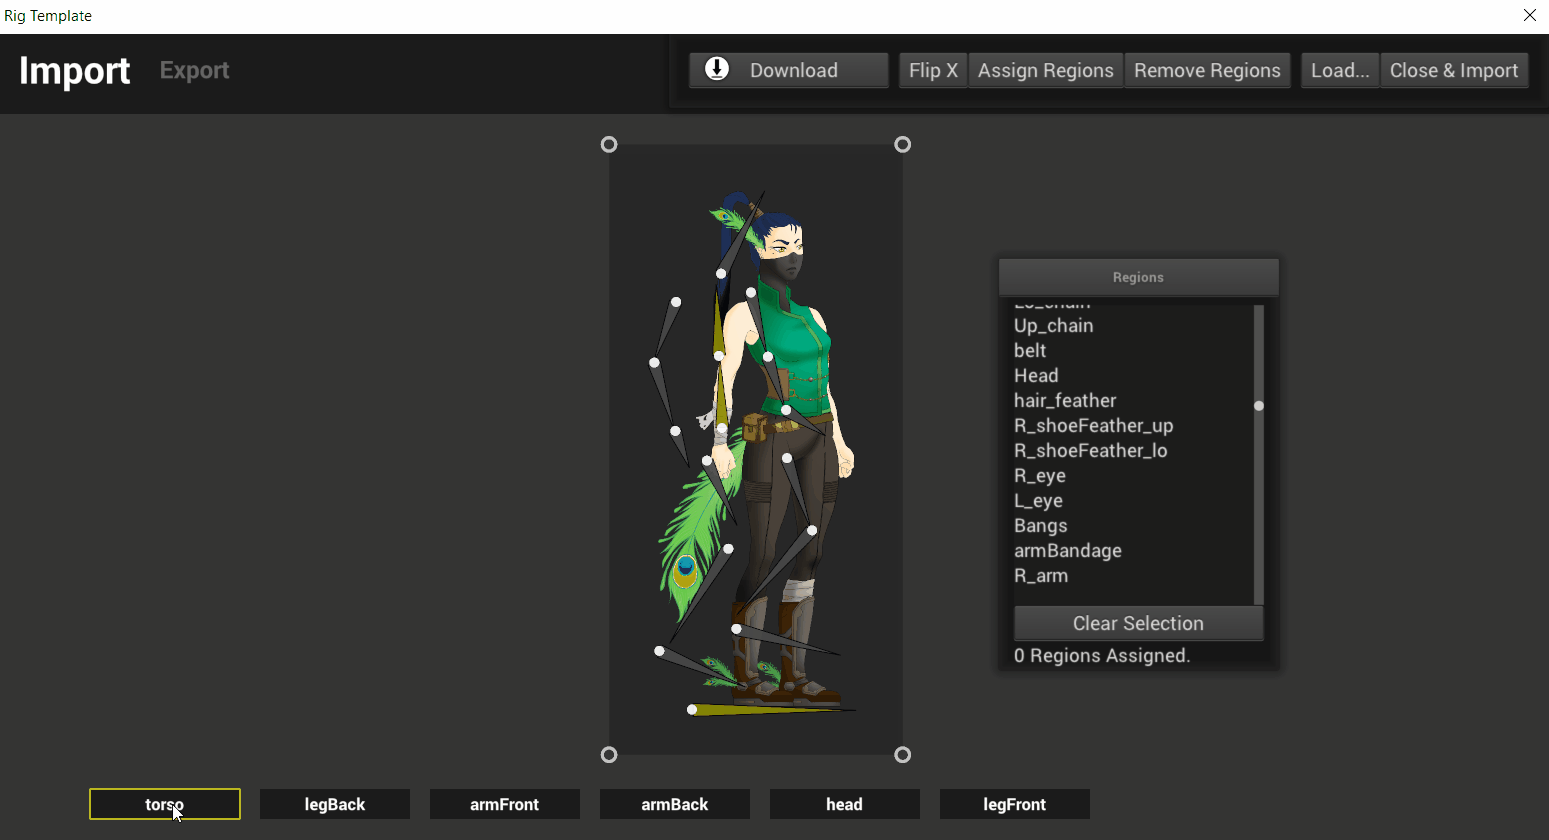
Next you will need to Click+Drag the joints to align the rig template to your character. Click “Close & Import” once you are done.

Step 5: Reparenting Bones
In Creature you can reparent bones by first selecting the child, Middle Mouse Click+Drag over the desired parent bone until it begins to flash and then release. A pop-up window will appear asking if you want to reparent bone, select yes to complete the process.
When you need to make adjustments to an existing bone, select it and then Click+Drag the second joint. If this bone has children under it, temporarily reparent them so they don’t get affected by the adjustments you’re making.
Step 6: Creating Rigs for Flexible Materials
In addition to creating a skeletal structure for your character, you need to give bones to any mesh region you expect to rotate, move, or respond to physics. For Pluma’s hair and feathers I added several bones per mesh region, setting up the rig like a rope or linked chain. Feathers are much more dynamic in movement compared to the body, so they needed a lot of joints to enable flexible motion.
Step 7: Renaming
To rename a bone, select and double click it in the list for the bone hierarchy. For long chains of bones with similar naming (i.e. “Hair_”), I like to Copy+Paste the description word and follow it with either letters or numbers. For symmetrical areas I would name them in a fashion similar to L_wrist/R_wrist.
Step 8: Check and Save
Now that you have placed and parented all of your bones you want to double check your work. Go into test mode and start from each child working your way up the joints. What you want to look for are any bones that weren’t properly parented. For example, if you rotate the neck you shouldn’t see the left leg rotate with it.
Congratulations, you created your first rig within Creature! Always make sure to save, save, and save your work. In our next lesson we will go over the process of weighting our rig.
Atlas of Creature Tools Used
Adding Regions
- Rig Mode: Creature mode for adding bones and weighting your rig.
- Region Mode: Creature mode for placing your character’s mesh regions.
- Add Region: Use this to add the mesh regions created in Mesh Mode.
- Add Mesh Regions Manually: All mesh regions are placed in the center overlapping and must be arranged individually.
- Auto Place Region from Project: If the project was created using a PSD file, Creature will reference your Photoshop layers and placement to automatically arrange the mesh regions.
- Layout Scale: Determines how close or far apart the mesh regions will be placed in relation to one another.
- Regions Window: View for mesh regions added, and mesh region arrangement.
- Move Up: Brings a mesh region further towards the background.
- Move Down: Brings a mesh region further towards the foreground.
- Duplicate Region: Creates a copy of the selected mesh region
- Delete Region: Completely removes the selected mesh region
- Global Scale: Scales all mesh regions at once, must select at least one region to use this button.
- Translate, Rotate, and Scale: Tools used to better place and arrange your mesh regions.
Adding Bones
- Bone Mode: Mode used to add and arrange bones of your character
- Bones Window: Provides you with the bone hierarchy and tools to automate the rigging process
- Bone Hierarchy: A list of your character’s bones and how they are parented to one another.
- Bone Size: Increases or decreases the visual size of the bones and joints.
- Smart AI: Automates the rigging process for a bipedal character by calculating and positioning joints according to your mesh regions.
- Run Rig Template: Use a pre-created rig with a proper bone hierarchy to easily assign mesh regions to bones..
- Select: Allows you to pick a bone to highlight it within the bone hierarchy. Useful for selecting the proper bone to parent from.
- Create: Select this tool to start placing bones with Click+Drag.
- Test Mode: Use this to rotate and move joints to check if you have a proper bone hierarchy and weighting. Any changes made while you are in Test Mode are temporary.
Up Next
View our next lesson on weighting your rig in Creature here!
Creature animation software free download is available here! Students of this tutorial can use the code DMCreature101 for a free 30 day license, redeemable here.