How to Rig for Simulation
At the foundation of intelligent simulation is a physics-based character model. We call this model our Simulation Rig. This blog will cover a few rigging tips to prepare your asset for simulation.

By DeepMotion Artist, Tristan Liu
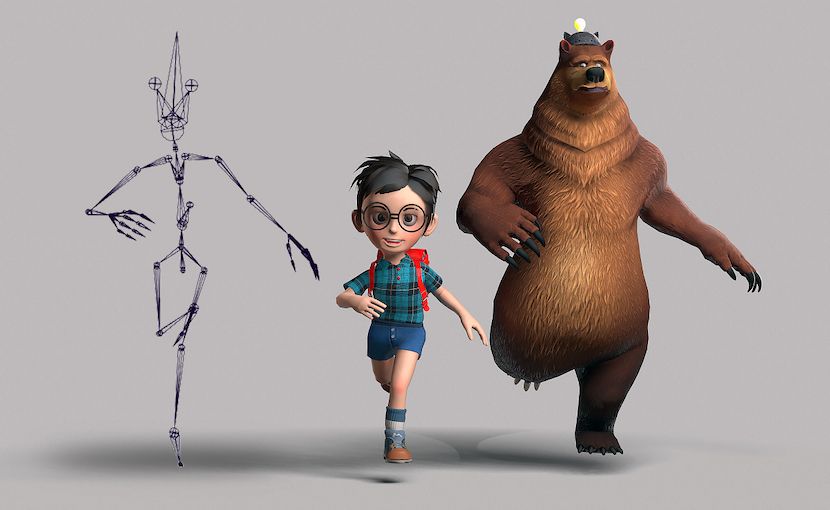
At the foundation of intelligent simulation is a physics-based character model. We call this model our Simulation Rig (or SimRig), which, when configured to a character asset, transforms a typical 3D file into a digital, biomechanical body. The SimRig maps physical attributes to the character in order to create an “active ragdoll” effect; at runtime, a physicalized character can manipulate its simulated musculature to maintain balance and move.
Borrowing from robotic control theory, and after years of research and development, the DeepMotion team has developed ways to apply to this SimRig to diverse assets and developed efficient methods for training simulated characters advanced digital motor skills using AI. However, the SimRig can only be leveraged for exciting new forms of character motion if the original asset is properly rigged and posed. This blog will cover a few rigging tips to prepare your asset for simulation based on our own experiences.
Generally, rigging for simulation is similar to the normal rigging process. But there are still some requirements you need to be aware of when creating a rigged character for the SimRig. These three tips will help ensure you won’t encounter some problems I found when preparing our character, Nina, for Neuron training:
T pose Required
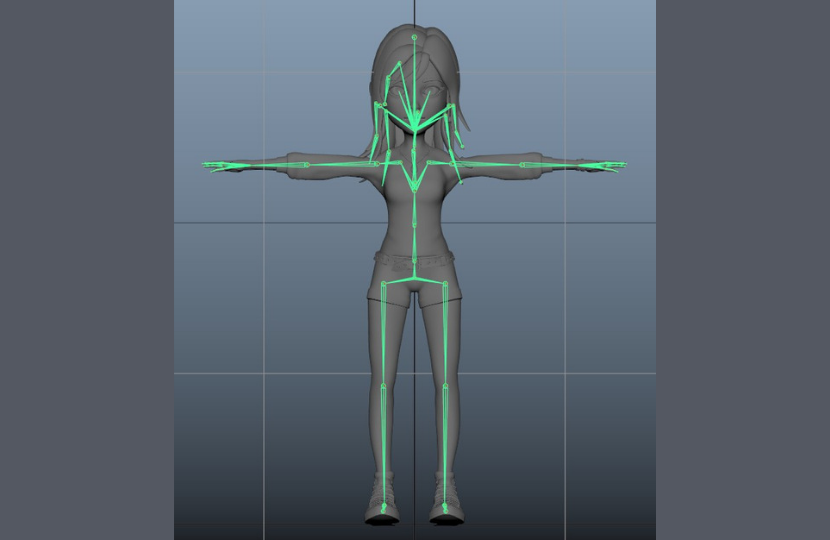
While the A pose rig is favored by many in the industry, a T pose rig is necessary to get a good physical simulation. In a T pose, the joints should be straight, and the Joint Orientation and Rotate XYZ should set to zero.
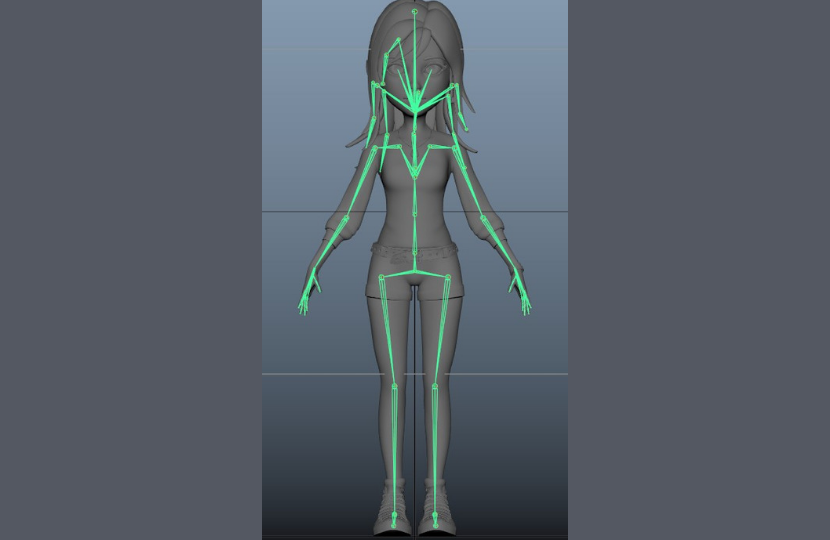
If you only have access to an A pose character, or your rig still retains natural bend on some body areas that cannot fit the skeleton, the best solution is to follow these steps:
- Create a T pose rig that matches your character’s proportions reasonably well. You may rotate the joint to estimate the length of the joints on the A pose model.
- Make sure the Rotate XYZ are all zero.
- Rotate the joints to match the A pose character
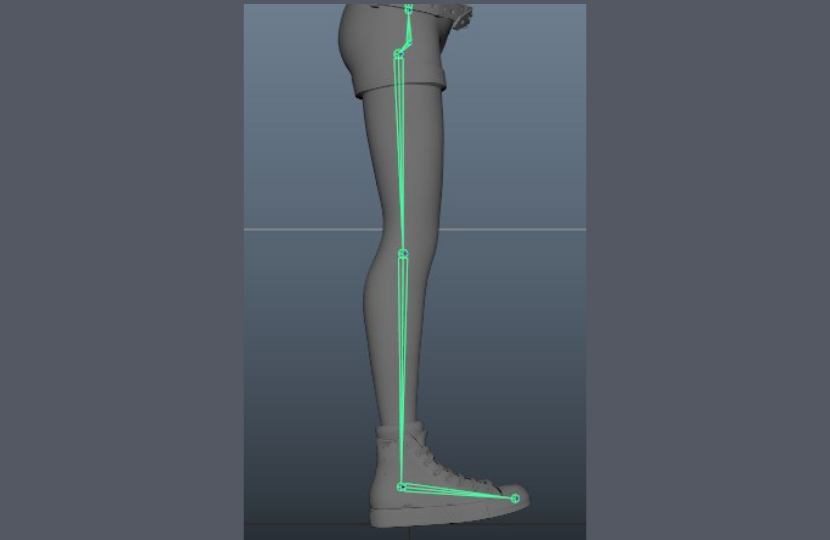
- Test the stability of the skeleton in DeepMotion Editor
- Paint skin weight

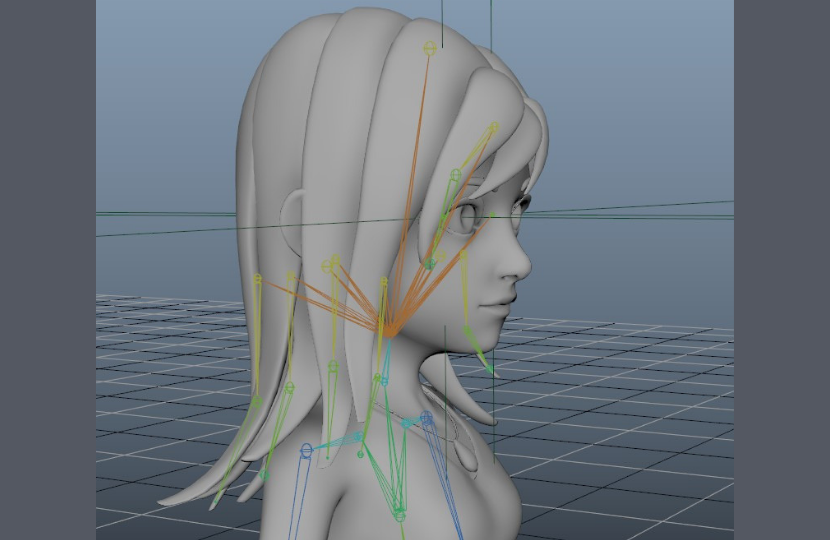
Hair Strand Limitations
If your rig has too many bones, specifically in their hair, you may run into issues for real-time simulation. To get the best simulation result it is necessary to keep groups of hair joints to no more than 6, with 3 or fewer joints for each group. You can use one joint group to control several hair strands.
Overall Joint Quantity
After running various tests with the DeepMotion team I found that a character with 75 joints will reliably perform well; the simulation may be unstable or slow if the joint quantity exceeds 100. It’s necessary to test the simulation stability just using the skeleton before painting the skin weight.
Happy simulation!
View more of Tristan’s 3D Character work here.
DeepMotion is no longer accepting applications for our Avatar closed alpha, but sign up for our Newsletter to learn about future product updates.
Interested in partnering with DeepMotion? Fill out this form.